Required User Level
3 - Edit
The minimum user access level a user must have
to use this feature of Pimarc.
The AOLS Sticker List is available for Level 3 users and up. This section shows all AOLS stickers are available to be picked.
Steps to assign a AOLS sticker to a project:
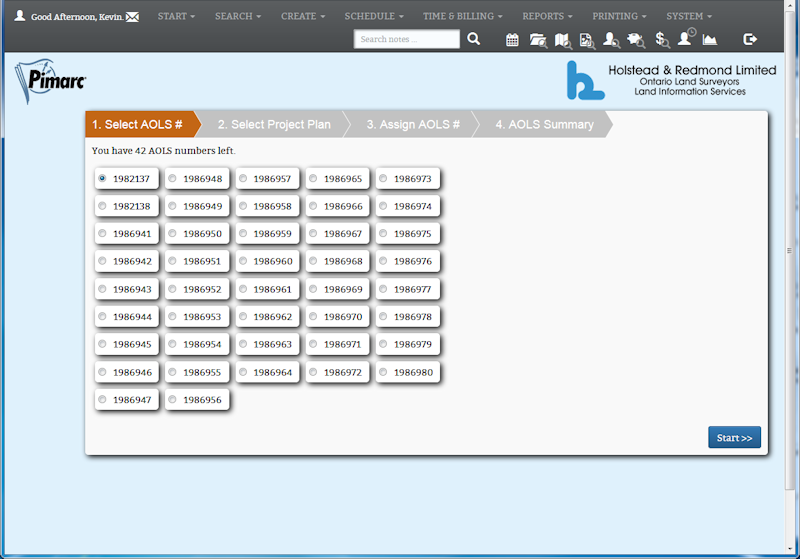
- Once you are on the AOLS # list page you will see all the AOLS #'s that are currently available.
Click one of the stickers shown and then click on the "Start" button on the lower right hand side of the page.
- On the next tab you search the job number and pick the project you are going to assign the sticker to.
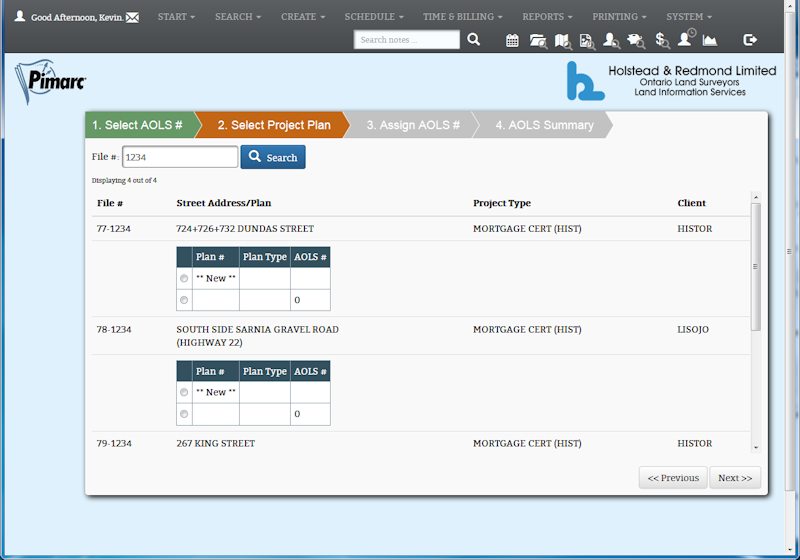
Enter a file # in the search box and click on the "Search" button. This will bring up a list
of projects that the search finds. Find the specific project that gets the AOLS # and click on
the either the "New" option if you want to add a new attached plan to the project or, if there
are already plans attached ot the project and they don't have an AOLS # assigned to them already,
you can select one of the exiting plans. Once your option is selected, click on the "Next" button
on the lower right hand side of the page.
- The next tab shows the current job information and allows you to enter plan specific information
like the type of plan, the date and the surveyor who signed off on the plan. It also allows you
to select which legal description(s) to associate with the attached plan.
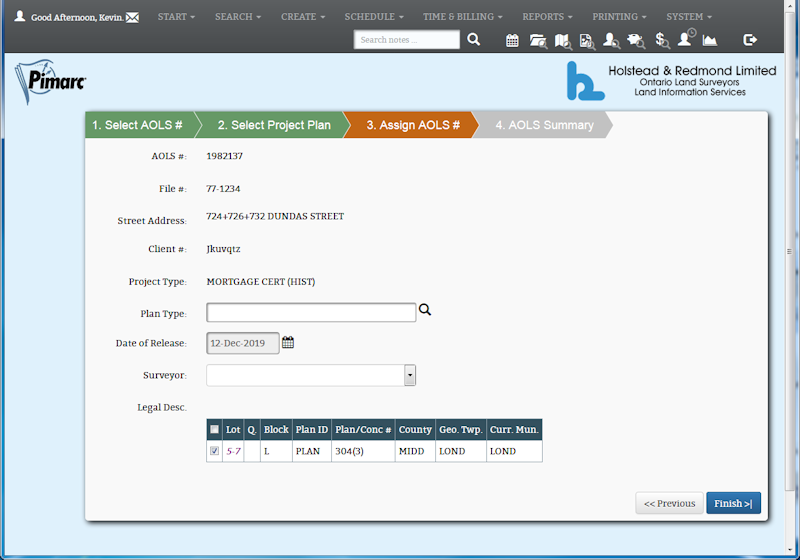
Once the plan details have been entered you can click on the "Finish" button on the lower right
hand side of the page.
- The last tab shows the summary of the plan information that was just attached.
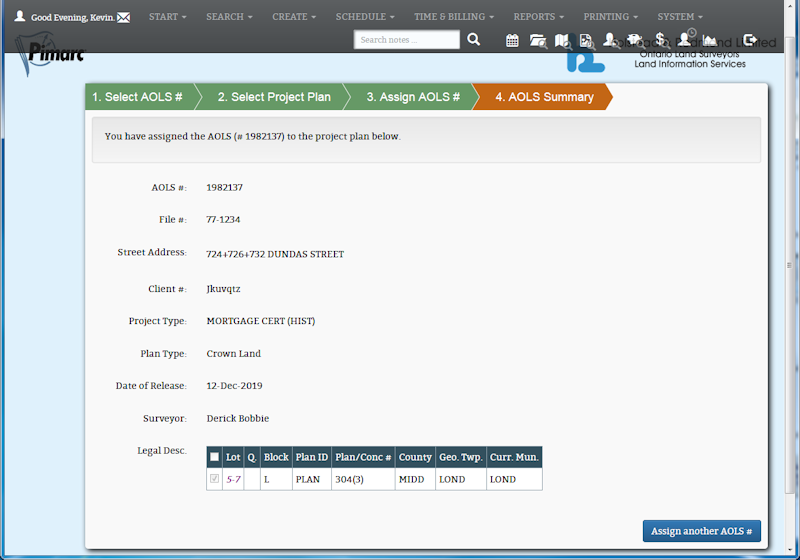
Clicking on the "Assign another AOLS #" button on the lower right hand side of the page will take
you back to the AOLS # list.