|
This section allows the user to attach any type of digital file to the project record. It is designed to attach cad drawings, raw data files from the transit, project files from the coordinate geometry application, word documents, emails, scanned files of any type. User can view the file directly from within the project and the browser. This section can view by every Pimarc user. The add button and edit button are only available for Level 2 users or up.
To add/edit file:
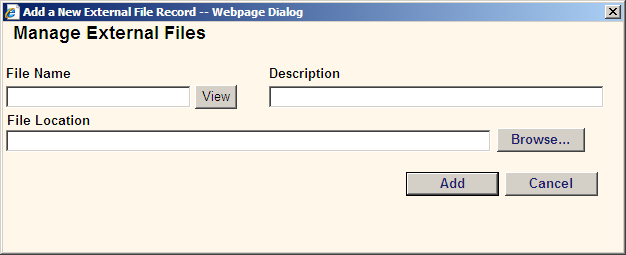
- Click the "Add External File" button.
- Click the "Browse.." button to select the file. You can click the view button to view the file to make sure your file is the right one.
- Fill in the description of the file.
- Click the add button to add the file.
- You can edit the file by pressing the edit button in the files tab window.
- Click the update button to save the change or click the delete button to delete it.
A sample of Pimarc files tab window is shown in below.


To Attach a directory:
Go to the files tab inside a project. Click on the add external file button, click on the browse button and go to the subdirectory on the server.(make sure this is a shared directory that has the same drive mapping on all work stations).
Select a file in the directory, then, type project directory name in the description field. Overwrite the file name with the sub directory name, then backspace over the filename in the file location box, include the forward slash before the filename. Then click the update button.
When you click the button to view, it will open the subdirectory as if you were doing it in the windows file explorer.
|